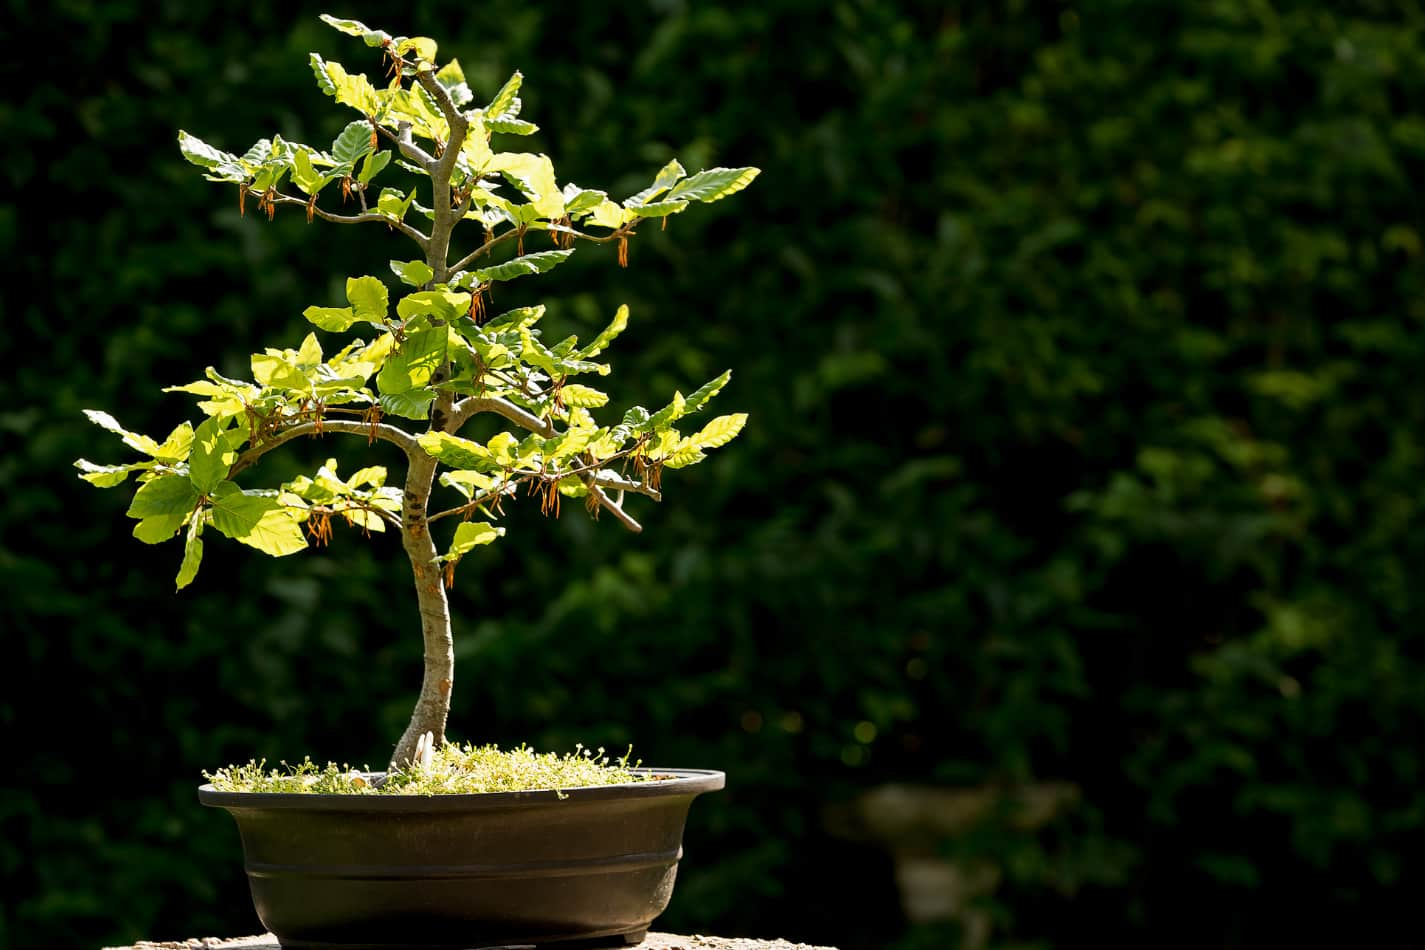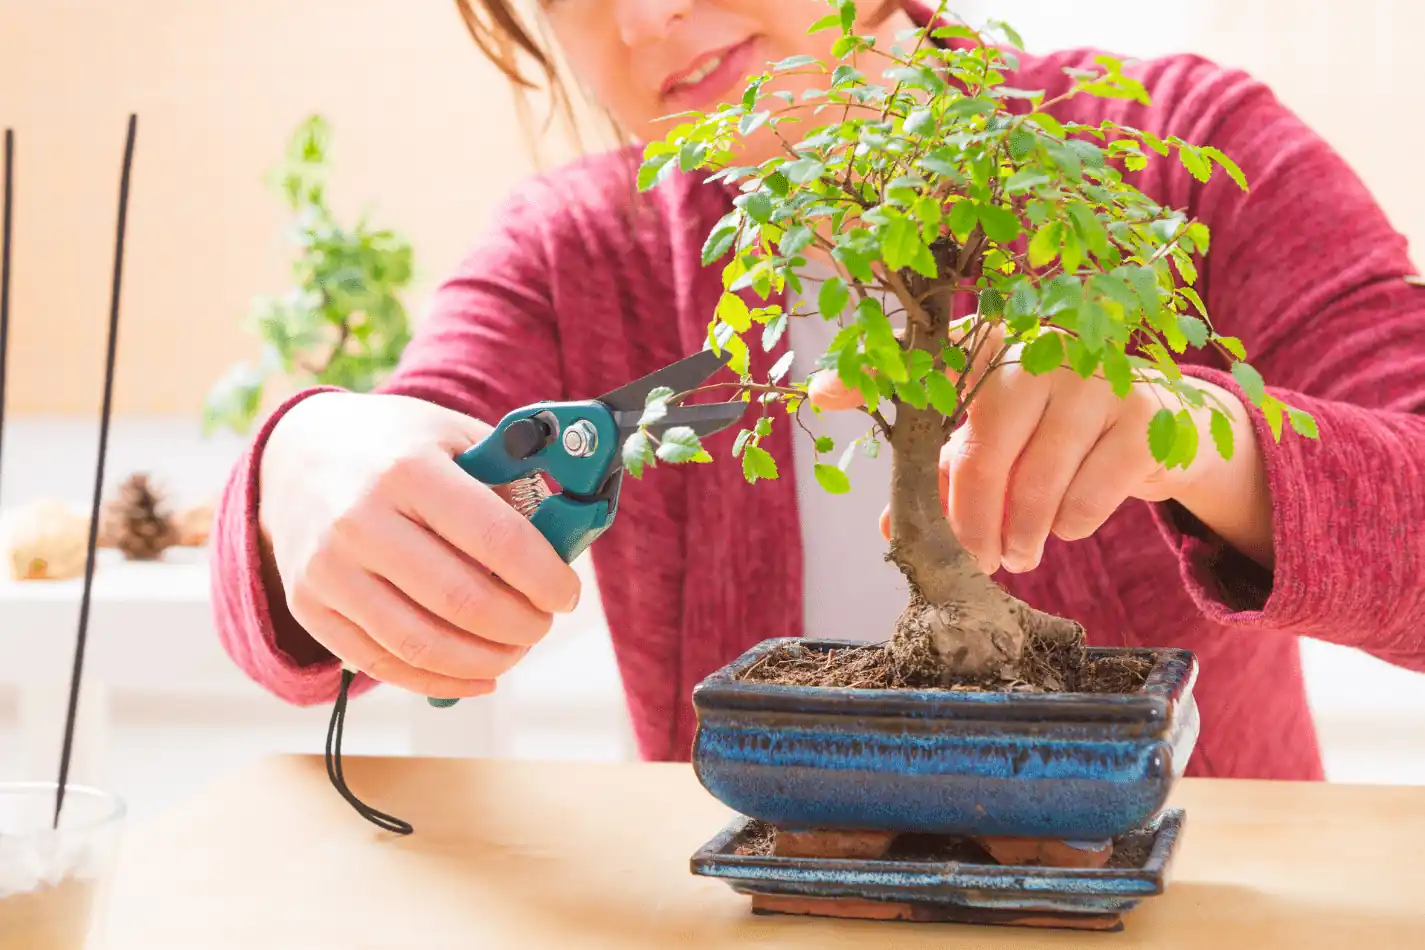
Tanuki bonsai lets impatient beginners cheat their way to ancient-looking trees by attaching young plants to weathered deadwood. Traditional purists call it artificial, but who has decades to wait? The technique requires quality deadwood, lime sulfur for aging effects, and sturdy young trees like junipers. Artists clean the deadwood, apply chemicals for weathering, then secure the living plant using screws. It’s instant gratification meets long-term commitment—because maintaining the illusion still takes years of proper care and styling.
What Makes Tanuki Bonsai Different From Traditional Methods
While traditional bonsai artists spend decades nursing a single tree into submission, tanuki bonsai practitioners take a different approach entirely. They cheat. And they’re proud of it.
Traditional bonsai relies on patience, pruning, and pure botanical growth. It’s all about shaping one living tree through years of careful wire work and trimming.
Tanuki artists? They grab some deadwood and slap a young tree onto it. Done.
This technique creates instant age that would otherwise take decades to develop naturally. The living tree becomes a “live vein” wrapped around weathered deadwood, mimicking trees that survived harsh conditions. Shimpaku or Itoigawa junipers work particularly well for this technique due to their flexibility and natural characteristics.
Traditional purists call it artificial. However, the technique isn’t widely accepted in Japanese exhibitions where it’s viewed as cheating. Tanuki artists call it creative problem-solving. The results speak for themselves—dramatic, aged-looking bonsai without the decades-long commitment.
Essential Materials and Tools You’ll Need to Get Started
Before anyone starts dreaming about their first tanuki masterpiece, they need to gather the right materials. First up: deadwood. Not just any rotting log will do—solid, unrotted conifer wood with interesting shapes works best. The more unique, the better the final result. Irish bog wood, preserved for thousands of years, offers exceptional quality for tanuki projects.
Tools matter too. A spray bottle, detail brush, and lime sulfur for that aged white look. Safety gear is non-negotiable when handling lime sulfur—unless chemical burns sound appealing. Nail guns or finish screws secure the live tree to deadwood. Saws help shape stubborn pieces.
For the living component, junipers like Itoigawa work well. Consider alternatives like pine or larch which often achieve better results than common junipers. Wire, cable ties, quality soil, and basic bonsai tools round out the shopping list. Nothing fancy required—just functional equipment.
Step-by-Step Construction Process for Your First Tanuki
Building a tanuki bonsai requires patience and precision—two things beginners often lack in equal measure.
The process starts with preparing deadwood. Clean off algae, strip bark, smooth tool marks. Nobody wants to see where you butchered the wood with a dull saw.
Next comes lime sulfur application. Moisten the wood first, then brush on lime sulfur evenly. This chemical ages the wood instantly—nature’s shortcut for the impatient. Handle with care unless you enjoy chemical burns.
Attaching the living tree demands structural thinking. Use stainless steel screws rather than regular hardware to prevent rust damage over time. Position the tree along the wood’s natural grain. Flow matters more than force here. The visible scars from attachment will heal over within a season as the live tissue expands.
Finally, nurture the creation. Water, prune, monitor health. The tree won’t survive on artistic vision alone.
Choosing the Right Deadwood and Living Plant Combination
Success in tanuki bonsai hinges on one critical decision—pairing the right deadwood with the right living plant. Get this wrong, and you’re stuck with an expensive disaster.
Hardwoods work best. Avoid anything soft, rotted, or bug-infested—nobody wants termites in their bonsai collection. Junipers make ideal living partners as they’re tough and flexible. Young plants bend easier than old ones. Simple math.
Size matters enormously. The deadwood and plant trunk must match proportionally, or the illusion crumbles instantly. Test fit everything before committing. Carve channels that actually fit the plant’s contours. Match bark textures for a cohesive look.
Source deadwood from garden centers or forests. Driftwood works perfectly—nature already did the weathering work. In hot and dry climates, your deadwood will maintain its aesthetic appeal much longer than in humid environments. Start with small wood screws for permanent attachment once you’ve confirmed the perfect fit.
Creating Visual Harmony Between Wood and Plant Elements
Visual harmony separates amateur tanuki attempts from masterpieces that fool even experienced bonsai enthusiasts. The secret? Balance. Asymmetrical designs trump perfect symmetry every time. Nature doesn’t do symmetry anyway.
Proportion matters more than beginners think. The deadwood and living plant must complement each other in scale. Too big, too small—both scream fake.
Texture variety adds depth. Smooth bark against weathered wood creates visual interest without looking forced.
Color contrast works wonders. Choose species whose foliage complements the deadwood’s natural tones. Mindful daily interactions with your tanuki bonsai help you develop an eye for which color combinations work best in different lighting conditions. Negative space around the composition enhances the overall effect. Don’t crowd everything together like a garage sale.
Wabi-sabi philosophy embraces imperfections. Those natural flaws in the deadwood? They’re features, not bugs. The goal isn’t perfection—it’s believable age and character. Creating these compositions cultivates patience as you learn to see the potential in each piece of deadwood.
Training and Styling Techniques for Natural-Looking Results
Channel creation changes everything in tanuki bonsai. Seriously, it’s the difference between amateur hour and something that actually looks real. A Dremel tool carves channels along the deadwood’s grain where the living tree sits. The live tree needs to mimic a natural vein or branch. No pressure there.
Position matters more than most people think. The juniper should blend seamlessly with the deadwood, not look like it crash-landed from space. Branches get guided to thicken naturally within those carved channels. Root establishment requires firm securing to the deadwood base. Cable ties and wire do the heavy lifting here.
The whole composition demands balance. Harmonious layout separates the pros from the wannabes. Time reveals whether the styling actually works.
Common Beginner Mistakes and How to Avoid Them
Mistakes pile up fast in tanuki bonsai, and beginners seem determined to make every single one.
The biggest blunder? Misaligning live trees with deadwood. It’s like putting a toupee on backwards – nobody’s fooled.
Inadequate deadwood preparation ranks second. Beginners skip the prep work, then wonder why their “ancient” masterpiece looks like driftwood glued to a houseplant.
The deadwood rots or screams artificial from across the room.
Species incompatibility destroys more projects than admitting. Pairing a delicate maple with oak deadwood is asking for aesthetic disaster.
The combination looks forced, unnatural.
Then there’s the classic premature styling rush. Beginners can’t wait to show off their creation.
They prune too early, stress the tree, and watch their “aged” beauty slowly die.
Patience isn’t a choice here.
Long-Term Care and Maintenance for Lasting Beauty
Creating a tanuki bonsai marks just the beginning of a decades-long commitment. The flashy part is over. Now comes the grunt work.
After that 5-6 month recovery period, the real maintenance begins. Regular fertilization throughout the growing season becomes non-negotiable—these confined root systems can’t exactly forage for nutrients.
Watering schedules shift with seasons as, surprise, trees notice winter. More water in summer, less when it’s cold.
Pruning happens year-round but timing matters. Structural work gets done in late winter. Light maintenance pruning keeps things tidy without shocking the tree.
Wire training continues the styling process.
Seasonal adjustments are mandatory. Cold-hardy trees go outside when weather permits. Protect them from extreme conditions—they’re not indestructible.
Indoor trees need regular misting for humidity.