Creating bonsai trees is like poetry. Like a poem, you can channel your creativity onto a tiny little canvas in bonsai. Growing bonsai from seeds rather than doing the same from seedlings, plants, or cuttings is much more satisfying, as it brings you the joy of fulfillment. However, you must know how to plant bonsai seeds.
After letting the seed germinate, you need to wait for two years to make the root mature. Then add a wire to bend the main branch. Wait for 1-4 years to make the trunk thick and solid. Now, you have to cut the main branch of the plant. From there on, you have to continuously prune, rekindle, clean needles, and wire the tree until you get your desired bonsai.
This article is an excerpt of 30 years of hands-on experience in making bonsai trees. You can take it as a complete guide to making bonsai trees and start your bonsai tree today. Moreover, it includes the perfect method of preparing the soil for bonsai trees and suggestions for preferable trees to create bonsai.
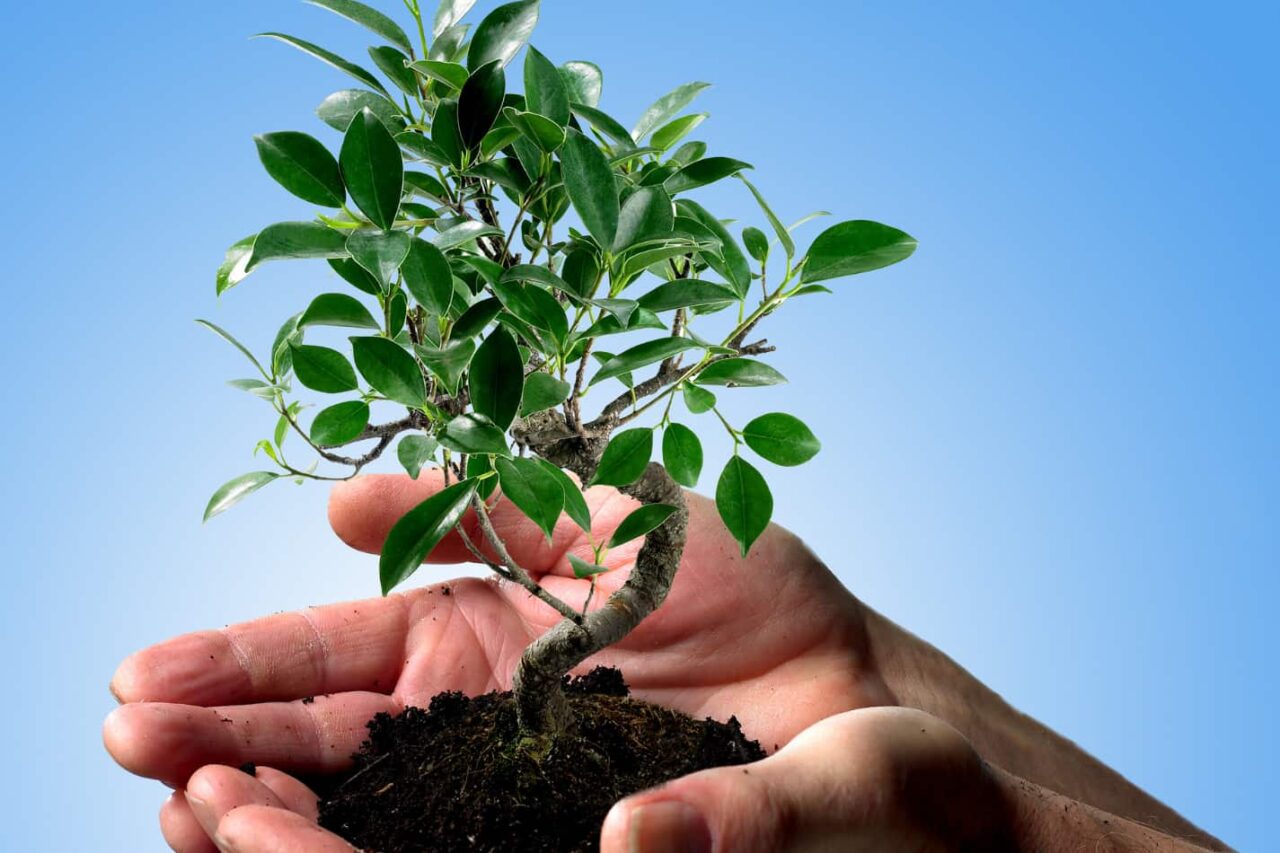
6 Simple Steps To Grow Bonsai Trees from Seeds
The primary tool for growing bonsai trees from seeds is patience. You have to invest years and decades to create them properly. Here is a step-by-step guide for making your bonsai tree from a seed.
Step 1- Seed Germination
It is always wise to collect local seeds for making bonsai trees. Because they will get along with your weather very easily. Collect seeds from a reliable source and keep them in warm water to soak them overnight. In the morning, discard the floating seeds. In a tub, spread bonsai soil and water it properly. The pot should have a way of getting the water out.
Now carefully plant the seeds in the soil bed. The seed is supposed to germinate within 2-3 weeks. You will see a tiny shoot coming out of the soil. In the meantime, keep the soil bed moist with regular watering. If the shoot is not visible in 2 weeks, keep the pot in a warmer place.
Step 2 – Strengthen The Root
It takes around a year for a tiny shoot to become a seedling. Almost all types of trees need this much time. You have to let the seedling grow untouched for another year. However, keep fertilizing and watering the plant meticulously.
These two years are very crucial for the growth of the root of the tree. I would suggest you use a wider pot for this period. Later, you can transfer the plant into a smaller and final tub. If you want your bonsai tree to live a long life, it will need a vigorous root.
Step 3 – Attach A Wire
At this point, you have to decide what the final outline of your bonsai tree will be. You need to attach a strong wire spirally around the tree and make the main branch bend with a sharp curve. Using the wire, you can also curl the branch or determine its future growth, according to your preferences.
Be careful to set the wire at the bottom part of the plant. If the wire is too tight, it can hinder the growth of the trunk of the tree. After attaching the wire properly, you have to wait for another four years and let the main branch grow without any interruption. The trunk of the tree will become thicker as the main branch grows.
You can start performing the next step even before the completion of four years if you are satisfied with the growth of the trunk. The size of your final bonsai tree will depend on how thick the trunk is. Make sure the wire does not cut into the tree.
If it seems so, you have to cut the wire in those particular spots where it is hurting the tree.
Step 4 – Cut The Main Branch
Now that the trunk has reached a preferable thickness, you have to cut the main branch from the curving point. That is why this branch is also called the “sacrifice branch.” Now the needle points at the curve will become the main point of foliage for the tree.
Use a pruning knife or gardening scissors to cut the main branch. Cut it at a 45-degree angle from the inside to the outside of the branch. Choose the cutting point according to your desired size of the bonsai tree.
Step 5 – Develop The Tree
Now it is time to unleash your imagination and creatively guide the tree to become a mature-looking one. First of all, you have to keep track of the buds at the needle points and set up the primary and secondary branches for your bonsai tree. The branch density of your tree is also determined in this phase.
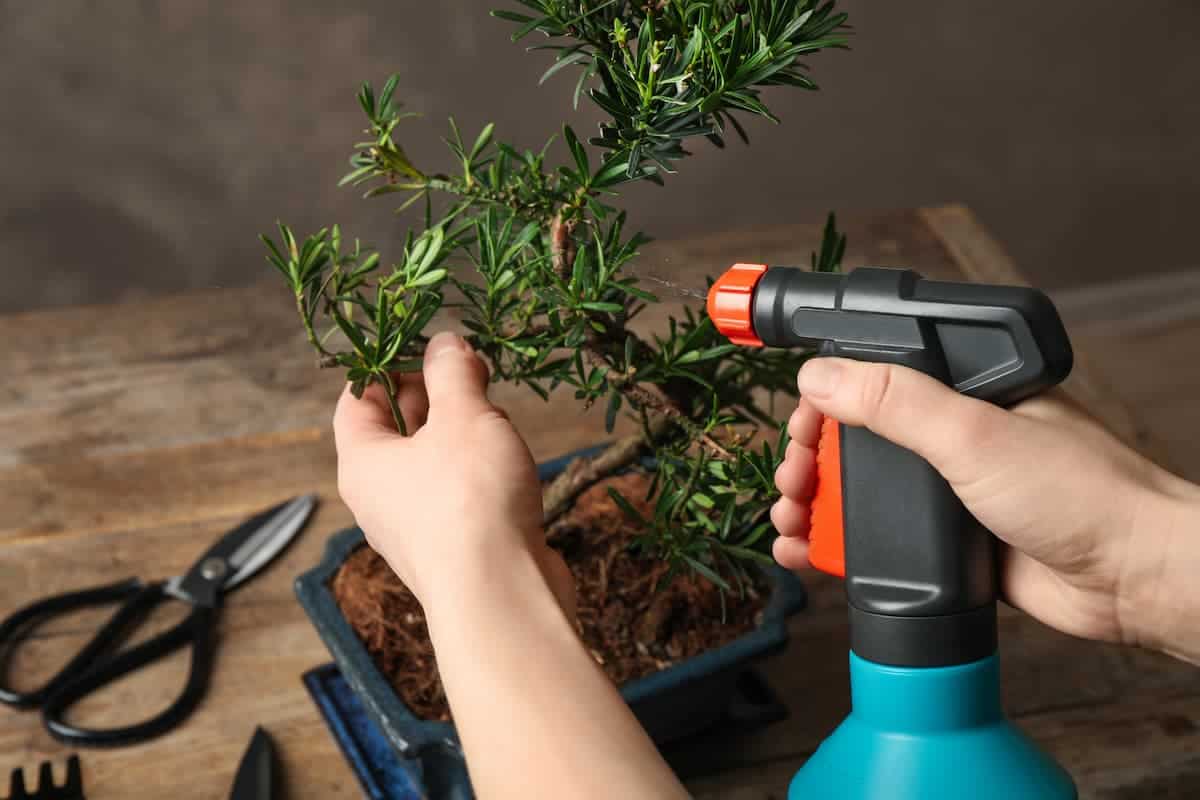
To grow more tiny branches for the bonsai, you need to perform regular and continuous pruning. You have to foresee how you want the canopy of the tree to look and do the pruning according to your imagination.
Within six to seven years, you are supposed to see the outcome of your efforts. Keeping the spaces between nodes short will make your bonsai dense.
Step 6 – Keep Maintaining
Unfortunately, bonsai trees will start to look not that great if you let them be for a long time. It means, making a bonsai tree is a long process. This is what makes growing bonsai one of the greatest yet toughest hobbies in the universe.
You should always keep an eye on the bonsai and perform selective pruning, cleaning of needles, rekindling branches, and wiring them as required. This is a lifelong opportunity for you to keep enhancing your creativity with the growing bonsai tree.
How To Prepare The Soil For Bonsai Trees?
To make your bonsai soil, you need to use Lava rock, Pumice, Akadama, organic potting compost, and grit. The process of preparing the bonsai soil mixture is noted below:
- Arrange the Components: Considering the final size of your bonsai tree, find a tub or pot. Determine the amount of soil mixture to fill in the tub. In most cases, you need to use Lava rock, Pumice, and Akadama in equal proportion.
- Remove Dust from Akadama: Get medium-sized granules of Akadama and remove the dust from it by using a sieve. It is important to do it to make sure that the soil mixture drains well and remains airy.
- Mix it Up: Mix the lava rock, Pumice, and Akaama properly. To ensure proper water absorption you should add some organic potting compost. Now your bonsai soil mixture is ready to contain seeds.
Best Trees To Make Bonsai From Seeds
Any tree or shrub with a woody-stemmed structure is good enough to create bonsai. However, some trees are more popular for bonsai than others because they have smaller leaves and needles. Ficus and Juniper are the two most popular trees among bonsai-enthusiasts.
Some other trees famous for bonsai are Chinese elm, Japanese elm, Wisteria, Magnolia Stellata, Crabapple, Oak, Banyion, Celtis, etc.
Generally, small-leaf trees are popular for bonsai. But some broadleaf trees are adored for bonsai. Some of those trees are Privet, Snow rose, Boxwood, Olive, Fuchsia, Fukien tea, etc.
Final Thoughts on Growing Bonsai From Seeds
The history of bonsai trees goes back more than a thousand years. If you happen to be a bonsai enthusiast, knowing how to plant bonsai seeds properly is the way to go. It will make you more foresighted and wiser.
I hope this article came in handy If you were thinking of growing bonsai from seeds. All the best!


