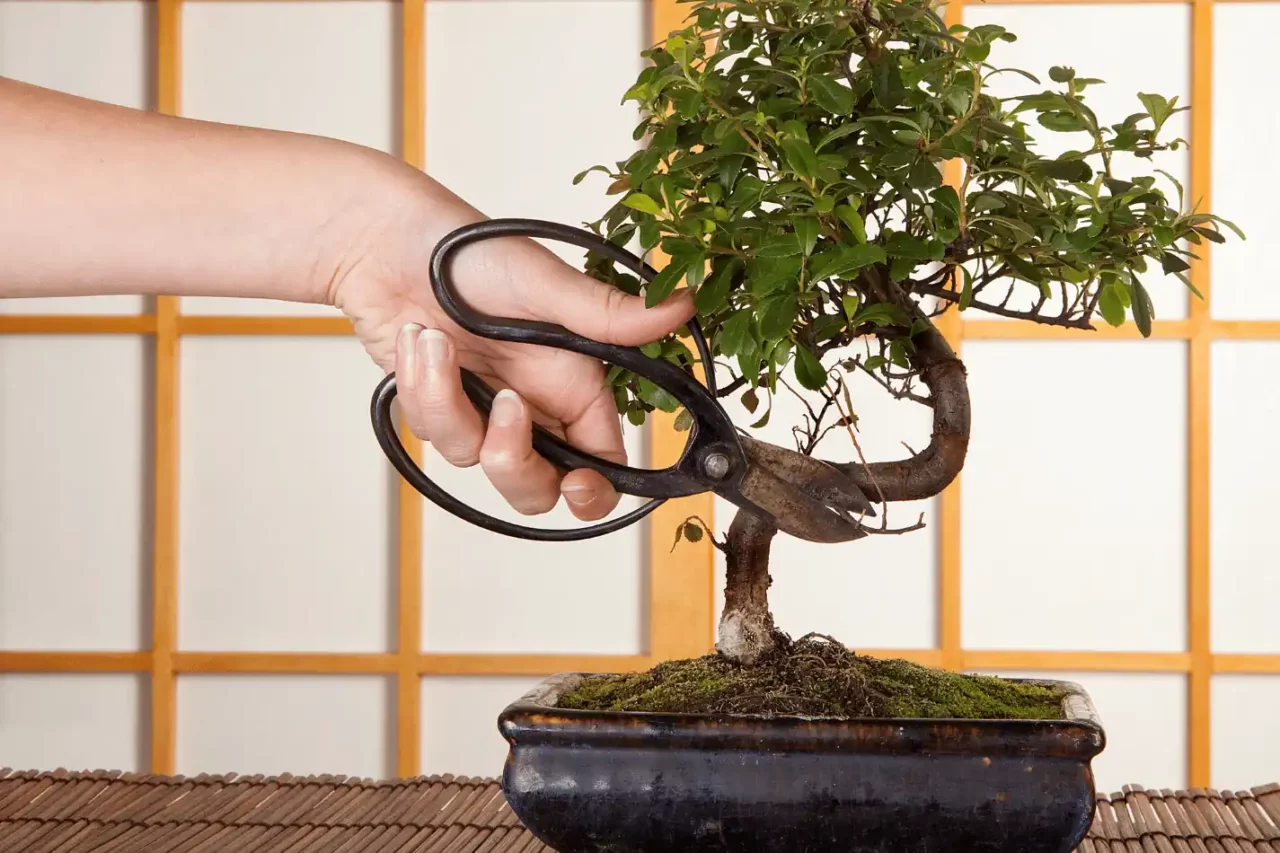
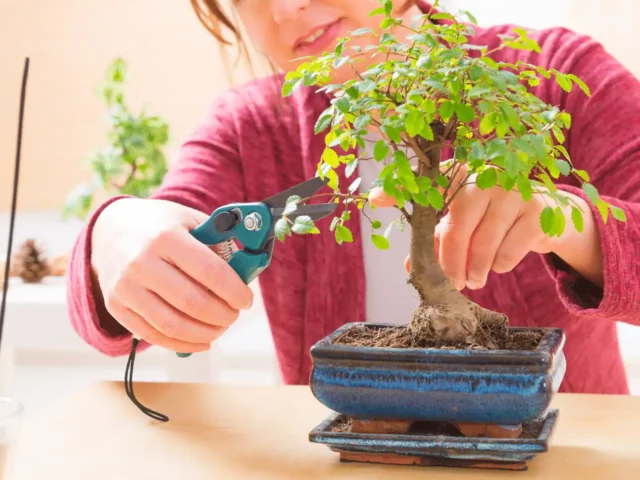
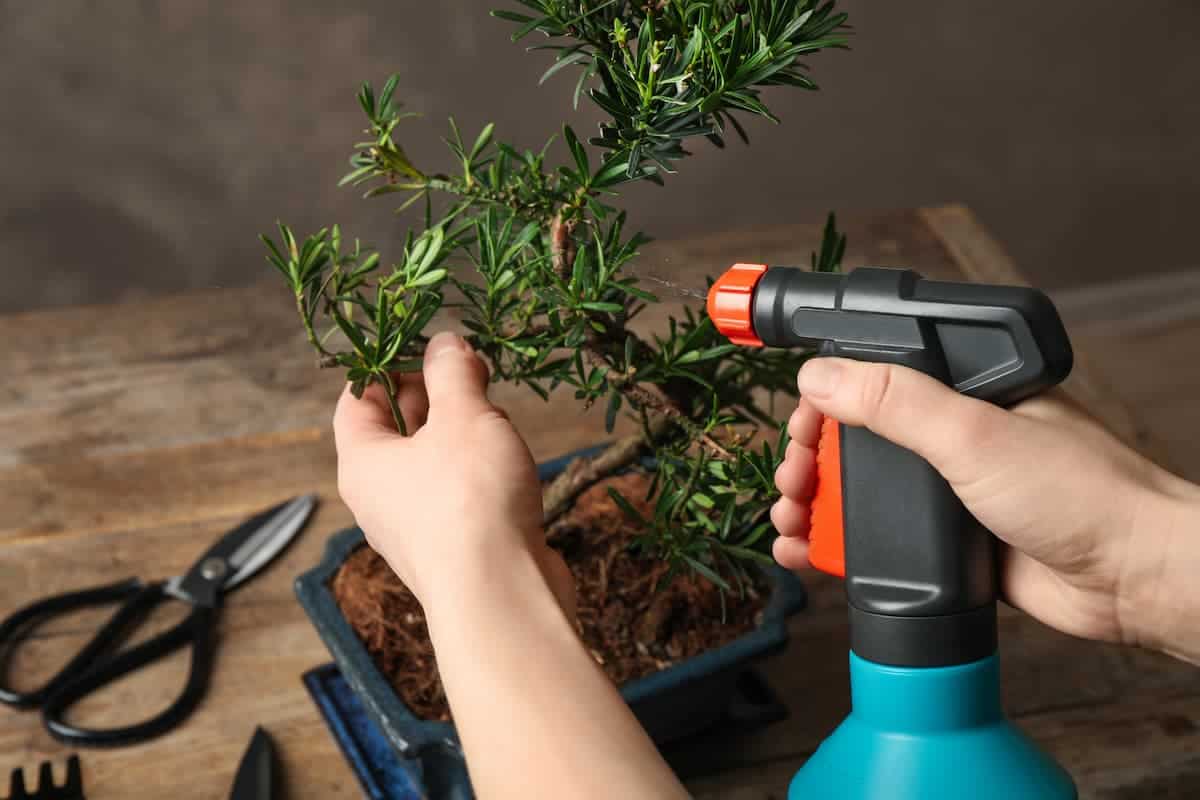
Just as a sculptor chooses their chisel with care, you must select your bonsai concave cutter wisely.
Whether you lean towards black, stainless steel, or round options, each serves a purpose tailored to the specific needs of your bonsai’s branches.
It’s crucial to size the cutter correctly to match your tree’s dimensions, ensuring cuts that promote faster healing and minimal scarring.
But how do you make that first incision, and what are the secrets to mastering advanced cutting techniques while maintaining your tool in peak condition?
To sculpt your bonsai into a masterpiece, understanding these nuances is key.

Key Takeaways
- Mastery of concave cutters is crucial for precise bonsai pruning and health.
- Select a cutter that matches the branch size for clean, precise cuts.
- Inspect the bonsai’s health and prepare it properly before pruning.
- Maintain the cutter by cleaning and oiling it after each use for longevity.
Understanding Concave Cutters
To truly master bonsai artistry, it’s crucial to understand how concave cutters, with their uniquely curved cutting edge, play a pivotal role in sculpting and maintaining your bonsai’s aesthetic and health.
These specialized tools are crafted to make clean, flush cuts that are essential for shaping your bonsai and encouraging robust new growth. The concave cutter’s design ensures that the wounds it creates on branches are concave, promoting faster healing, minimizing scarring, and reducing the risk of infections.
This meticulous cutting technique not only helps the wound close more efficiently but also contributes to the overall beauty and health of your bonsai tree. Grasping the purpose and technique of using concave cutters is key to successful bonsai maintenance and development, freeing your artistic vision to sculpt with confidence and precision.
Preparing Your Bonsai
Before you start shaping your bonsai with a concave cutter, it’s crucial to ensure the tool you’re using is sharp and clean to prevent damage to your tree.
You’ll need to examine your bonsai’s health meticulously, checking for any signs of pests or diseases that could impair its ability to recover from pruning.
Proper preparation, including adequate hydration and positioning in a well-lit area, will set the stage for precise and effective pruning, ensuring your bonsai remains vibrant and healthy.
Selecting Proper Tools
Selecting the right bonsai concave cutter, a tool essential for shaping and healing, requires careful consideration of branch size, tool material, and maintenance practices.
You’ll want a cutter that matches the branch size and condition, ensuring your pruning efforts are effective and precise.
The material and quality of your concave cutter are paramount; opt for a durable cutter that promises longevity and sharp, clean cuts.
It’s crucial to keep your cutter sharp, well-maintained, and oiled to promote quick healing for your bonsai and minimize any damage.
Before using, familiarize yourself with the proper technique, employing the concave cutter lengthways on branches. This approach facilitates optimal healing and management, ensuring your bonsai thrives under your care.
Analyzing Tree Health
Inspect your bonsai tree for signs of disease, pests, or stress to ensure it’s in prime condition before you make any cuts with a concave cutter.
Look for dead or dying branches, as well as any areas of excessive swelling or damage that may require pruning. It’s crucial to check the tree’s overall health, including adequate watering, sunlight, and soil conditions, to maintain its vigor.
Assess the growth patterns meticulously, identifying areas that need shaping or thinning out. This not only enhances the aesthetics but also promotes the tree’s well-being.
Specific areas where cutting is necessary can significantly impact the tree’s overall appearance and health. Remember, every cut should be deliberate and aimed at improving your bonsai’s condition and form.
Making the First Cut
When you’re ready to make the first cut, it’s crucial to select the right branch that aligns with your bonsai’s design vision.
You’ll need to position your concave cutter precisely at a 45-degree angle to the branch, ensuring the cut is clean and encourages quick healing.
Utilizing clean cutting techniques, like starting from the outside edge and applying steady pressure, will prevent damage and promote a healthier bonsai.
Choosing the Right Branch
Before making the initial cut, ensure you’ve chosen a branch that’s not only healthy but also aligns with your bonsai’s design vision. Carefully inspect the branch for any signs of damage, disease, or weakness. It’s crucial that the branch is perfectly positioned and enhances your bonsai’s overall aesthetic.
When you’ve identified a suitable branch, remember, the goal is to cut branches that are unnecessary or obstructive to your design. Making a precise cut close to the trunk or main branch with your concave cutter is essential. This ensures a clean, flush wound, promoting rapid healing.
Cutting at the right angle and position encourages new growth in your desired direction, allowing your bonsai to thrive and embody your vision of freedom and beauty.
Positioning the Cutter Properly
Positioning your bonsai concave cutter correctly is crucial; ensure the concave side faces the branch and the blade aligns parallel to it for a clean, flush cut.
When you’re standing there, tool in hand, the cutting edge of your concave cutter becomes an extension of your will. It’s not just about making a cut; it’s about sculpting the future of your bonsai with precision and foresight.
Angle the first cut slightly away from the branch collar to encourage optimal healing and to minimize scarring. This isn’t a hasty chop; it’s a thoughtful incision, guided by an understanding that every cut shapes the tree’s destiny.
Avoid cutting too close to the trunk or leaving stubs, as both can hinder the bonsai’s recovery and aesthetic harmony.
Clean Cutting Techniques
Having established the importance of proper positioning, let’s focus now on mastering clean cutting techniques to ensure your first cut is both precise and conducive to your bonsai’s health.
Position the concave cutter’s blade flat against the branch, ensuring the cutting edges are ready to make a smooth, flush cut. Aim to cut close to the trunk at a slight angle, which aids in quick healing while avoiding damage that could hinder proper callus formation.
It’s crucial to use a steady hand and apply gentle pressure, allowing the cutting edges to smoothly remove branches. This approach not only promotes your tree’s overall health but also demands precision and patience.
Advanced Cutting Techniques
To master advanced cutting techniques, it’s essential to first understand how to make angled cuts using a bonsai concave cutter, ensuring quicker healing and minimal scarring.
The standard concave cutter is your ally in achieving a natural appearance by removing branches flush with the trunk. Precision is key. Begin your practice on smaller branches to gain control and confidence.
Remember, the goal is to create concave wounds that not only heal faster but also leave less scarring. After cutting, applying cut paste is crucial to accelerate healing and protect the wound. However, exercise caution to avoid cutting too close to the trunk, as this can harm your bonsai.
With these techniques, you’ll grant your bonsai the freedom to flourish with minimal intervention.
Cutter Maintenance Tips
After mastering advanced cutting techniques, ensuring your bonsai concave cutter remains in optimal condition is crucial for its continued effectiveness. Regular maintenance is the key to preserving both its efficiency and longevity.
Start by applying a thin layer of tool oil to prevent rust and corrosion. This step is essential, especially if your toolkit includes a knob cutter, which is just as prone to damage. After each use, wipe the cutter with a soft cloth to remove sap and debris. Such diligence keeps the tool in prime condition and ready for precise cuts.
Store your concave cutter in a dry place to fend off moisture and potential rust issues. Periodically check and sharpen the cutting edges. Proper care guarantees your cutter’s readiness for any bonsai shaping challenge.
Healing and Aftercare
Ensure your bonsai’s swift recovery and robust health by meticulously cleaning the concave cutter with a soft cloth to eliminate sap and debris immediately after use.
After this, apply a thin layer of oil to the cutter’s blades. This not only prevents rust but also ensures the tool operates smoothly for your next pruning session.
Regularly inspect the cutter for any signs of wear, such as dullness or damage, and address these issues promptly. Mishandling can compromise its effectiveness, so handle with care to maintain its sharpness and structural integrity.
Observing your bonsai’s healing process is crucial. Watch for new growth and proper wound closure, signs that your meticulous aftercare is fostering a robust recovery.
Your attention to both the tool and the tree secures a path to thriving bonsai.
Conclusion
In wrapping up, you’ve mastered the essentials of using a bonsai concave cutter. Remember, choosing the right cutter and making precise, clean cuts are critical for your bonsai’s health and beauty.
Always clean and oil your cutter to keep it in top shape. With practice, you’ll refine your cutting technique, enhancing both the tree’s aesthetic and its healing process.
Your dedication to proper care and maintenance will ensure your bonsai thrives, showcasing the artful results of your meticulous work.


